Auto-draw a square around frames

Greeting Aseprite Community
After many years (almost 25) I’ve come back to this amazing world of pixel art.

I have recently discovered Aseprite and now I can’t live without it anymore, especially for an old dude like me that went from software like DEluxePAin IV on amiga1200 :smiley:

I would like to ask a question about Aseprite, maybe someone knows how to do this or could be a feature request.
I’m doing some animation for a studio, and to load my frames into a custom game engine, the programmer told me to make a box around every single frame and then create a frame sheet.

Is there a way in Aseprite to create an auto-box selection on what I have on the layer?
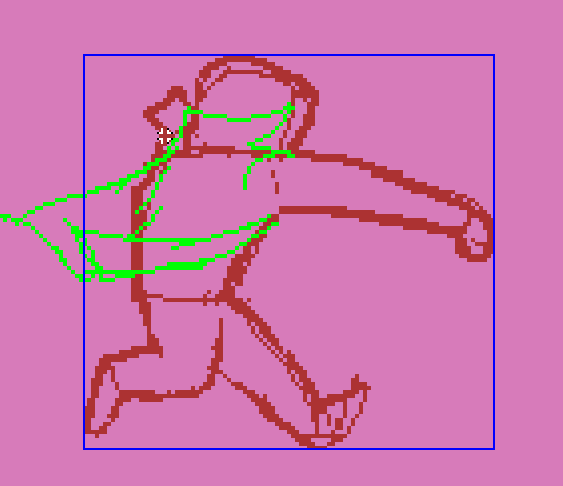
Something like this. (in this case, the jacket is not part of the layer body)

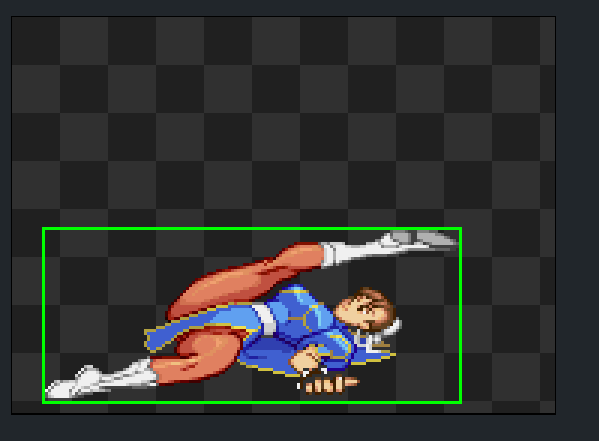
I know in Aseprite we have the ‘Layer Edges’ preview, which is very handy to see the boundaries of the frames.
image

So I have a few questions:
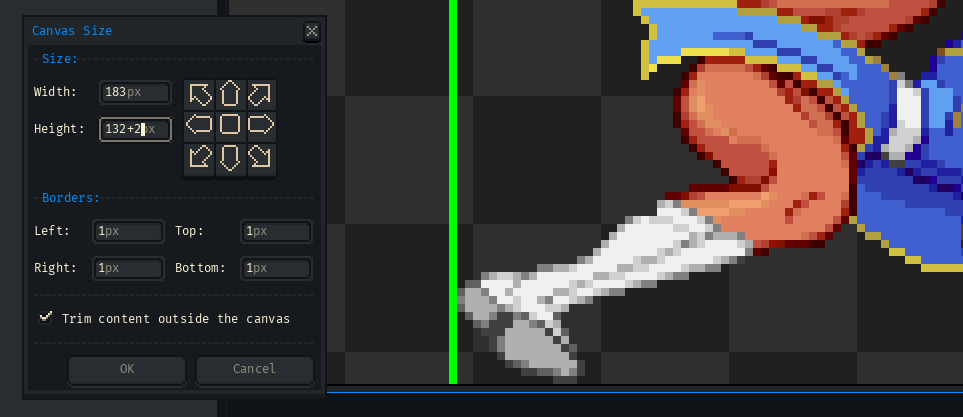
Is that possible to convert the box preview from “layer edges” into a selection and then create a stroke around that selection?
Is that possible to script this custom procedure/operation in Aseprite?
Do you think this can be asked as a feature to be developed?

Thanks so much in advance to anyone who can help with this.

Just want to thank the developers and the community because this is a very nice piece of software and I’m enjoying it a lot!

Kind Regard

Francesco

Hi @frankinolupo,

Welcome aboard! Below is an example script that places a 1 pixel green border around each cel in the active layer.

screenCap1

The test image was sourced from here.

local activeLayer = app.activeLayer
local outlineColor = Color(0, 255, 0, 255)
if activeLayer then
    local outlineHex = outlineColor.rgbaPixel
    local layerCels = activeLayer.cels
    app.transaction(function()
        for i, cel in ipairs(layerCels) do
            local celImg = cel.image
            local imgWidth = celImg.width
            local imgHeight = celImg.height

            local trgImg = Image(imgWidth + 2, imgHeight + 2)
            trgImg:drawImage(celImg, Point(1, 1))

            for j = 0, imgWidth, 1 do
                trgImg:drawPixel(j, 0, outlineHex)
            end

            for k = 0, imgHeight, 1 do
                trgImg:drawPixel(imgWidth + 1, k, outlineHex)
            end

            for j = 1, imgWidth + 1, 1 do
                trgImg:drawPixel(j, imgHeight + 1, outlineHex)
            end

            for k = 1, imgHeight + 1, 1 do
                trgImg:drawPixel(0, k, outlineHex)
            end

            cel.image = trgImg

            -- Cel images that are on the border of the sprite
            -- will appear cut-off, even though the cel image
            -- still retains the border.
            local celPos = cel.position
            cel.position = Point(celPos.x - 1, celPos.y - 1)
        end
    end)

    app.refresh()
end

There is a problem case for cel bounds that butt against the edge of the sprite canvas. Because the green edge is drawn on the outside of the old cel bounds, it will not appear even though the data is still present in the image. You can fix this manually by increasing the canvas size by two pixels while keeping the old canvas data centered. (Go to Sprite > Canvas Size for the menu seen below.)

Maybe this could be corrected by script as well, but I wasn’t satisfied with the results of Sprite:crop and didn’t want the script to alter other layer cel positions, so I left that attempt out.

If you need the bounding box of a selection, info on that can be found in the reference here. Consider asking the programmer at the studio to further assist in meeting their needs.

Best to you,
Jeremy

1 Like

Hi Jeremy, nice to meet you

First of all, thank you so much for your reply.

The script works perfectly and fits my need, simply because do the animation on a large stage.
like this rough anim.
elon_phoneAnswerPunch_v06

Then I will clean it, and center using a hotspot, then boxes!
elon_jump_v06b

elon_jump_v06c

Thank you so much Jeremy!

F

4 Likes