This is what I am doing right now, I am offsetting where I create the new image to place it correctly, but I think I can’t actually place a second image because anything outside the first images blue line and is thus not rendered.
Any idea how I could do this?
function generateSlices(data, numberOfSprites, sprite, columns)

    local sourceImage = app.activeCel.image

    local left = sourceImage.cel.bounds.x;
    local top = sourceImage.cel.bounds.y;
    local right = sourceImage.cel.bounds.x + sourceImage.cel.bounds.width;
    local bottom = sourceImage.cel.bounds.y + sourceImage.cel.bounds.height;

    local width = sprite.width
    local height = sprite.height

    targetSprite = Sprite(width * columns, height * math.ceil(numberOfSprites / columns))
    app.command.BackgroundFromLayer()

    local outputImage = app.activeCel.image

    for i = 1, numberOfSprites do
        local x = ((i - 1) % columns) * width
        local y = math.floor((i - 1) / columns) * height
        print(dump(sourceImage.cel.bounds))
        outputImage:drawImage(sourceImage, x + left, y + top)
        replaceColors(data, i);
        local slice = targetSprite:newSlice(
                Rectangle(x, y, width, height)
        )
        slice.name = data["colorName_" .. i]
    end

    app.refresh()
end
If I understand your summary correctly, I’d try creating a new Image with a constructor (probably using the ImageSpec from the targetSprite), assign the Image to the variable outputImage, draw all the source images to the output in the for loop, then set the activeCel’s image to outputImage after the loop.
I also recommend to avoid slices, as they have a history of bugs,
unless they’re absolutely essential to the script.
Edit: I manage to solve it by not replacing the colors until all the images where copied. I then had to go through them one by one in a second loop and select them and replace colors, since the replace command respects selections.
@behreandtjeremy
Hi! I was messing around with and trying some more. Didn’t seem to make any difference when trying to do it the way you suggested.
From calling undo on the resulting sprite it seems like it works fine at the start.
It creates a copy of the sprite, where the canvas has the calculated size to hold the new sprites.
The problem seems to be that as soon as it does the first replace color, the blue box around the copied image goes from filling the whole sprite to just being a border around the non-transparent pixels.
So then, anything outside of that blue rectangle won’t be painted when doing the drawImage call.
Even having a background layer and having the images be painted another layer doesn’t help, since the non-background layer will still “shrink” as soon as something is changed on the image.
From what I understand there isn’t a way to resize this blue box, without resizing the actual image and distorting it.
When it comes to slices, I haven’t had many issues with them, it’s how I define the names of the different images in my spritesheets, not sure of there is a better way.
Please post an MCVE with runnable code when requesting help, on this forum or any other.
There are other ways to change an image’s colors than calling an app.command, if that’s what you’re doing. This is one of the reasons why I try to avoid commands if I can. Some suggested alternatives if you’re still interested:
use a gradient map, where the brightness of each pixel is scaled by the number of replacement colors then floored to an index used to access an array of colors;
create a Color object from a pixel integer, shift the hue, then convert back to an integer (note disadvantages with HSV/HSL and remember that hue is supposed to be undefined for grays with zero saturation, but usually defaults to zero);
create a Color object as above, then use its index to find the nearest match in a source sprite’spalette;
use a Lua table as a dictionary, where in each entry, a source color integer is the key that accesses the target color, the value.
These approaches would usually assume a sprite is in RGB color mode, as opposed to indexed or grayscale, but this is a case where an app.command is necessary to convert a sprite, as far as I know.
Depending on the version of Aseprite you’re using, many Aseprite objects have a field for custom user data: Cels, Layers, the Sprite itself in the beta branch.
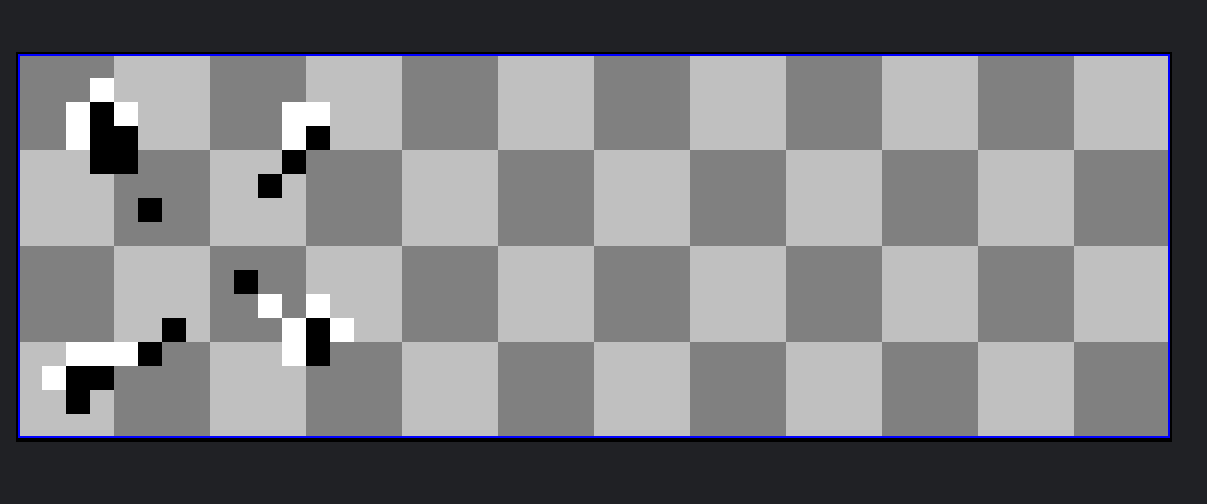
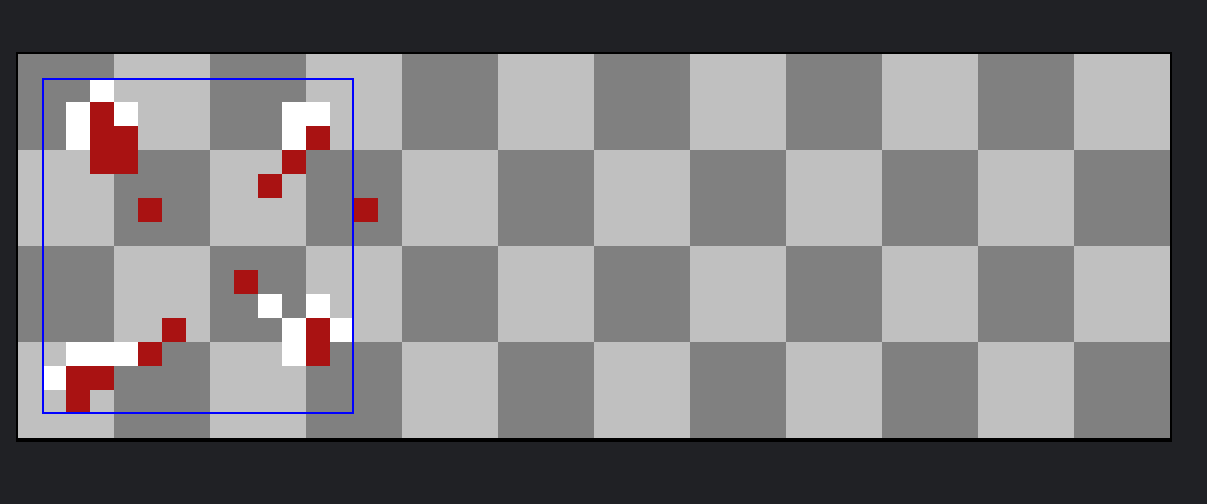
I suspect that it is app.command.ReplaceColor which causes an image trim and shrinks its bounds. It is a reasonable assumption that the two would be unrelated, but sometimes you gotta’ test. Compare
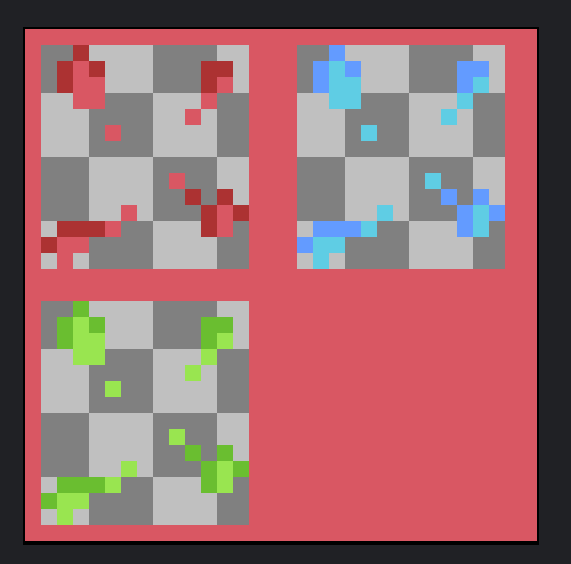
Assume that the initial image has some red stroke in it [edit: and otherwise contains alpha zero or mask colors]. Oddly, the command doesn’t trim if red cannot be found and the replace makes no changes.