Layering Tileset Layers

Hey there,

I’m using Aseprite and more specifically its Tileset Layer feature to create a Tileset for my game. Now I’ve run into a bit of an issue, but I’m not sure if I just misunderstand how the tileset layers work or if this just isn’t possible at the moment:

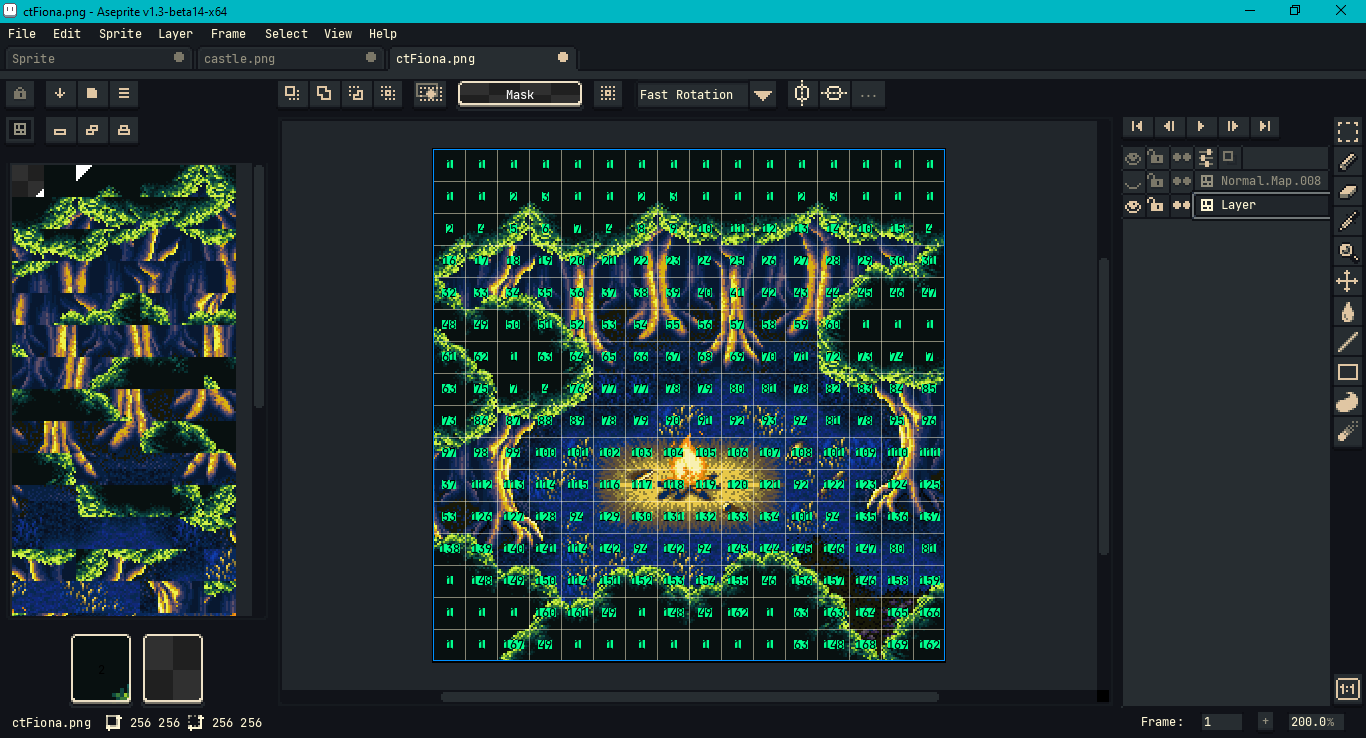
I have a tileset layer called ‘floor’ where I have all of my floor tiles, and everything works well enough.

Now I’d like to create a second layer that contains the normal map versions of those exact floor tiles. This means that I need the indices to match up exactly with the original layer, in order for the export script to position them in the same order.

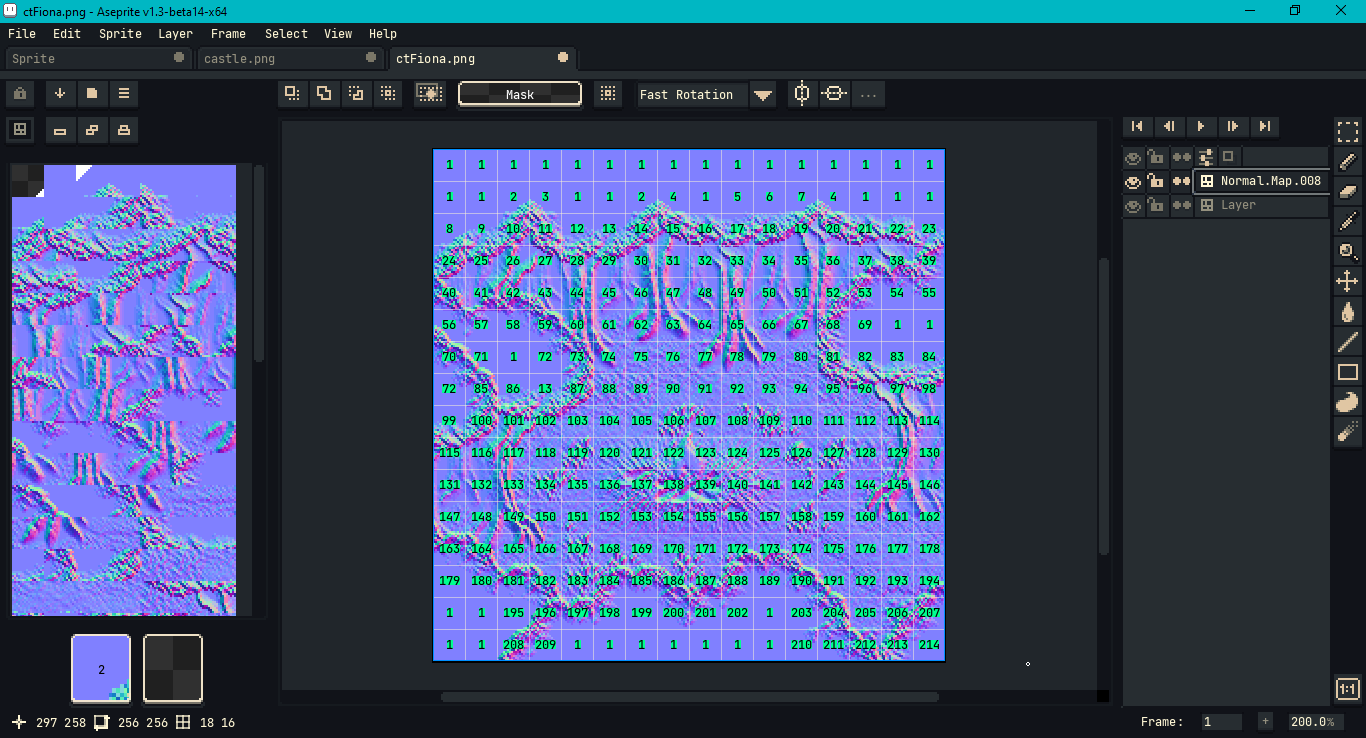
Ideally I’d like to be able to just paint over the already arranged tiles on the canvas in the same way I would on the main layer and have the tiles use the same indices (except that I’d be able to show/hide/export and edit the layer individually). Only my new tileset layer is obviously empty, and if I paint on it, it will just create new layers in the order I paint on it, not respecting the indices I’ve set up on the original tileset layer. If I create a new tileset layer and let it use the same tileset, I can place all the same tiles, but painting on top of it will still create new tiles instead of overlaying on top of the existing ones.

This also means that even if I went through all the trouble of setting up the tiles in the exact same way again, it wouldn’t carry over any changes I make to the order of the tiles within the tileset (which is a somewhat fiddly and a little annoying process in itself at the moment)

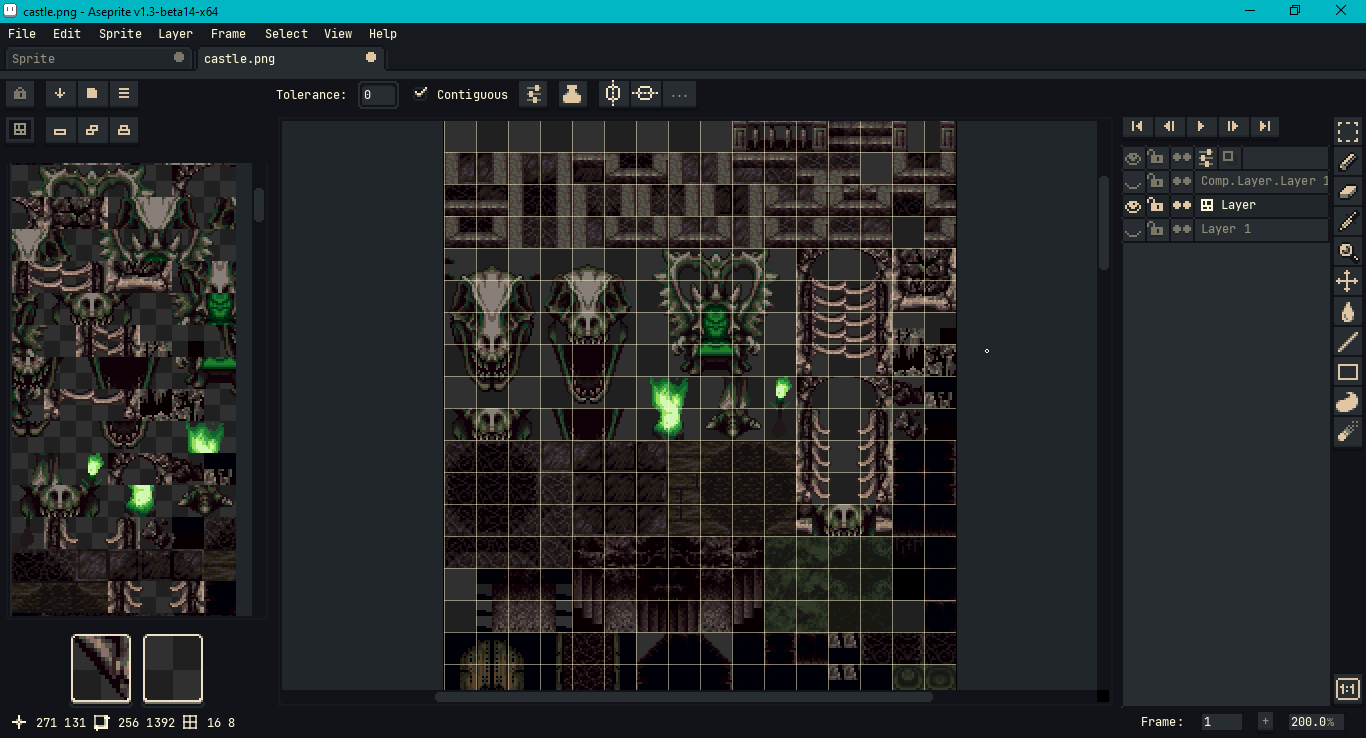
I hope this makes sense… I’ve run into the same issue before: I usually like to separate the individual components of my textures such as base color, light, shadow, various details etc. into individual layers to be able to adjust them more easily later on, especially their color values, but this doesn’t seem to be possible using tileset layers.

What would be the workflow here? Or am I just missing something?

I’m on the current Steam Beta v1.3

Cheers and a happy Easter weekend to you all!

You’re not missing anything. Tilemap layers and their tilesets are independent, and tiles don’t have layers of their own. Better tileset management features should be coming eventually, but probably not in 1.3, as that release already has a ton of changes.

Tiles having layers independent of or in addition to document layers is of particular importance to me as well, but it’ll be a while before we get that, if we ever do.

Your best bet for now is probably to design and order your main floor tiles, and then when you’re done with them, copy that tile layer, and redraw the tiles in it to make your normal maps.
Or, and this is better if you want shadows, etc all separate: ignore the Tilemap Layer feature entirely, and use the main document as your tileset, using the Grid to help you select and arrange tiles. You can move things in several layers at once when you want to rearrange tiles. Do your tile testing in a separate document, perhaps even in an external level editor such as Tiled (very basic testing should still be easy enough to do in Aseprite with just some dragging around, though).

1 Like

I see, thank you very much for the quick answer!

I think I’ll have to work without the tilemap layers for now then, which is a real shame because I like the immediate feedback it gives me. I might use the tileset layers to create the initial layout and shape of the tiles and then convert the canvas into a regular layer for the detail work etc.

If layered tilemap layers ever make it out of the backlog, you’d definitely have one happy user over here!

Not sure how much flexibility you have over the scripting, but were I in your place, I’d consider modifying the import / export code to use compound indices.

visualMapIndices = { 6, 3, 2, 1, 4 }
normalMapIndices = { 8, 1, 1, 4, 5 }
compoundIndices = { { 6, 8 }, { 3, 1 }, { 2, 1 }, { 1, 4 }, { 4, 5 } }

compoundIndex1 = compoundIndices[1]
visualImage1 = visualImageArray[compoundIndex1[1]]
normalImage1 = normalImageArray[compoundIndex1[2]]

Instead of equal tile set lengths and orders, the key property that both the visual and metadata layer maps need to share is the same dimensions, i.e., equal width * equal height = equal flat array length.

An analogous case where I’ve used compound indices is storing a cube mesh with minimal redundancy: there are 8 corners, 6 faces, and – depending on the texture map – 4 or 12 UV coordinates. A cube’s vertices will share and reuse these data arrays of nonuniform length.

Also, when Aseprite converts a regular layer into a tile map layer according to the sprite’s grid settings, the order is kinda predictable. You can figure out where it’s gone out of sync by looking at the indices that appear when layer edges are turned on. Here’s an example from Chrono Trigger; the sprite sheet is sourced from here.

These don’t actually work as normals, I’m aware, I just generated something.

A more realistic case where you’d want to develop an export system that handles unequal tile set lengths is where, for example, two treasure chests are a different color but have the same shape, and therefore the same normals.

If your visual tile map has transparency in it and your normal maps are allowed to have transparency, you could make a silhouette of the color #8080ff with a layer mask, then fill in the detail later. (The more unique silhouettes, the greater the likelihood for synced tile sets.)

Again, example source is from Chrono Trigger; here is the source.

It’s hard to guess at all the restrictions and details for a complex problem like this, esp. without pictures, so I hope that at least some of the ideas were worth the time. :slight_smile:

Best,
Jeremy

1 Like

coming 2 years later, and i have the same question, so i guess it’s just not easily possible right now.
It would be a great feature if multiple tilesets could have the same number of entries somehow, for exactly normal/roughnesss/so on maps