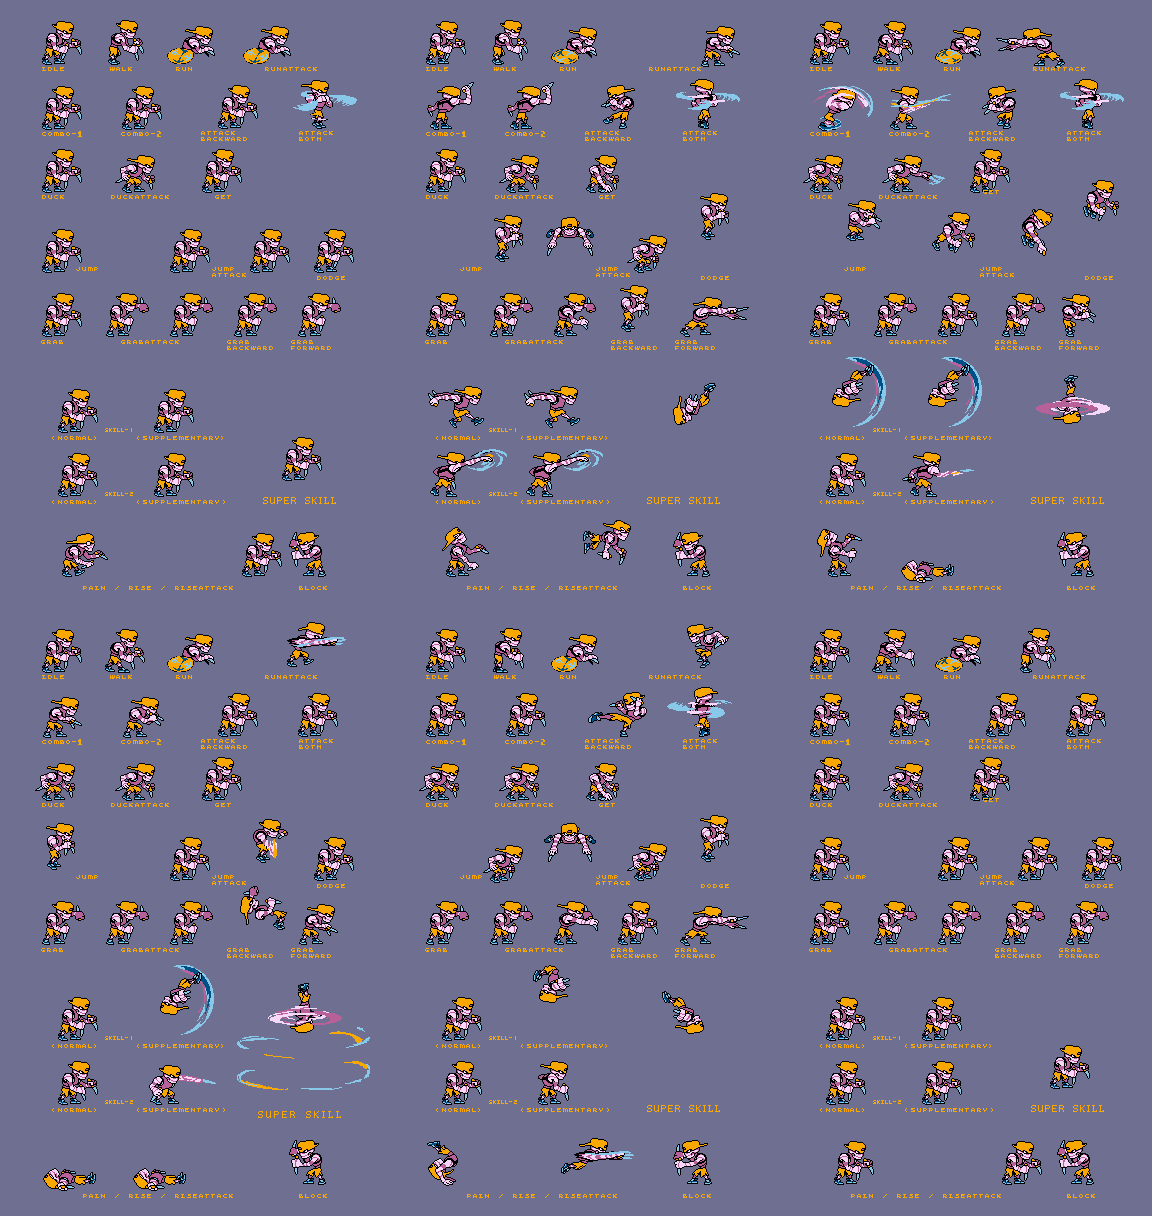
I recommend this extension: Magic Pencil for Aseprite by Kacper Woźniak. It offers more practical brushes and real-time outline preview, making it incredibly useful.
——————————
Kept what was written before as a memento, the simple script I once thought were useful during my newbie days.
——————————
![]()
Applicable Scenes:
The Style with the simple black outline.
Quickly check the picture’s outline with a dark color.
Lua content:
local sprite = app.activeSprite
local cel = app.activeCel

if not sprite or not cel then
    app.alert(‘Please select a layer and image first’)
    return
end

-- Get the current image
local image = cel.image
local width, height = image.width, image.height

-- Creates an image larger than the original image. Used to add an outline
local outlineImage = Image(width + 2, height + 2)

local outlineColor = Color{ r=0, g=0, b=0, a=255 } -- black stroke. rgb is the colour, a is the transparency

-- Add a stroke around the image.
for y = 0, height - 1 do
    for x = 0, width - 1 do
        if image:getPixel(x, y) ~= 0 then
            -- add outlines in all four directions
            outlineImage:putPixel(x + 1, y, outlineColorr) -- up
            outlineImage:putPixel(x + 1, y + 2, outlineColorr) -- down
            outlineImage:putPixel(x, y + 1, outlineColorr) -- left
            outlineImage:putPixel(x + 2, y + 1, outlineColorr) -- right
        end
    end
end

-- Draw the original image to the centre of the new image.
outlineImage:drawImage(image, 1, 1)

-- Apply the new image with the outline to the current layer
cel.image = outlineImage

-- move the coordinates of the new image up to the left, aligning the position of the original image
cel.position = Point(cel.position.x-1, cel.position.y-1)

-- Refresh the image
app.refresh()
