Is this possible in Aseprite?

I’ve been using Aesprite for about a week. I started it just to help a friend with his game(that I love), I have a lot of art experience in general but very little pixel art.

So right now we need to reskin a playable character into an evil/corrupted version to become a future enemy/boss using unpacked sprite .png files.

When I open all these files at once, Aesprite wants to open everything as an animation, but in about a dozen or more windows(due to the “1” “2” “3” “4” etc, in the file names).

Is there a way to edit ALL sprites using color swaps without having to do all the edits by hand for each window? Or is there a way to edit multiple windows at once?

I’m aware I can edit all frames in an animation at once, but then I have to do that for 12 other windows and hope I matched the colors exactly.

Basically I just need to know the most efficient way to edit all these sprites, then save them back into their original(single) .png files without turning them into a sprite sheet.
Is there an extension/script?

Any tips appreciated, thanks.

Hi @Symbiosis,

Could you say more about what you mean by color swaps? In the image below, do either the top or the bottom diagram show what you’re trying to do?

On the Aseprite end, I reckon you’d need a script. The scripting API’s app.fs module helps with file system management, for example listing the files in a directory. Palettes can be loaded with a file path, as can Images. Images have a saveAs method.

The task might be easier if the images are in Indexed color mode than if they are in RGB color mode. For RGB color mode, a table in Lua is quite flexible, though, and Colors can be converted to and from 32-bit integers. So you could create a dictionary wherein each entry is defined as key = original color, value = destination color. Handy if you had to loop through every pixel to make the swap. Just so long as the image doesn’t contain any colors not in the source palette, such as ones introduced through blending.

Alternatively, you could think of the corrupted version in terms of new layer that sits on top of the original image and augments the pixels underneath, in the simplest case with a built-in layer blend mode.

Depending on which of you is the more experienced coder / is the video game’s main coder, they instead could research how to color swap or blend in the game engine with a shader. Ideally, you’d be able to give them the palettes and images as separate resource sets. This may return you to a similar problem if, say, the images need to be changed in bulk to cooperate with the shader.

Cheers,
Jeremy

Similar topics:

2 Likes

By color swaps I mean Shift+R
image

What I want to do essentially is Shift+R(change 6-9 total colors) on all the (90)sprites for this character at the same time, but Aesprite will not allow me to load them all into a single window.

This means I’d have to Shift+R 12+ different windows 6-9x per window(for each color). Potentially meaning over 120 color swaps for this single character.

I was hoping there was just a much more time efficient way of achieving this, I feel like I’m missing something very simple. I could change all the file names so that they are all loaded into a single window, but then I’d have to sort them alllll out after which also feels very inefficient.

Hi @Symbiosis,

I understand the need to edit multiple image files in bulk. I dunno of a better way than a script to control the particulars.

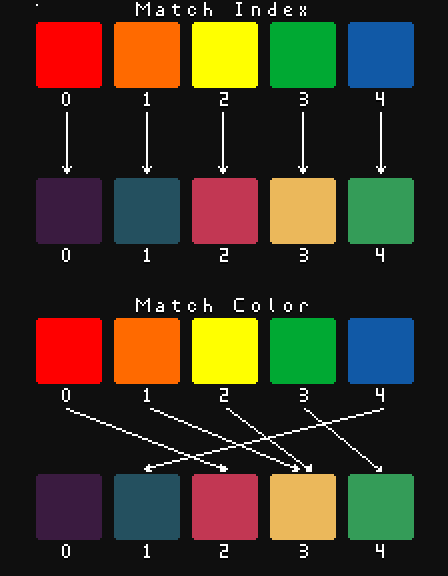
Replace color can be automated by script. I’d expect you’d have to load files as Sprites instead of as Images. The approach you choose depends a lot on whether your images use Indexed or RGB color mode, because Replace Color behaves differently for each.

If you want to load all the images from one directory into a single Sprite, that can also be done. The extra work would come from arranging them in a grid if you wanted to do that.

local activeSprite = app.activeSprite
if not activeSprite then return end
local activeFrame = app.activeFrame or activeSprite.frames[1]
local dir = "my\\dir\\path"
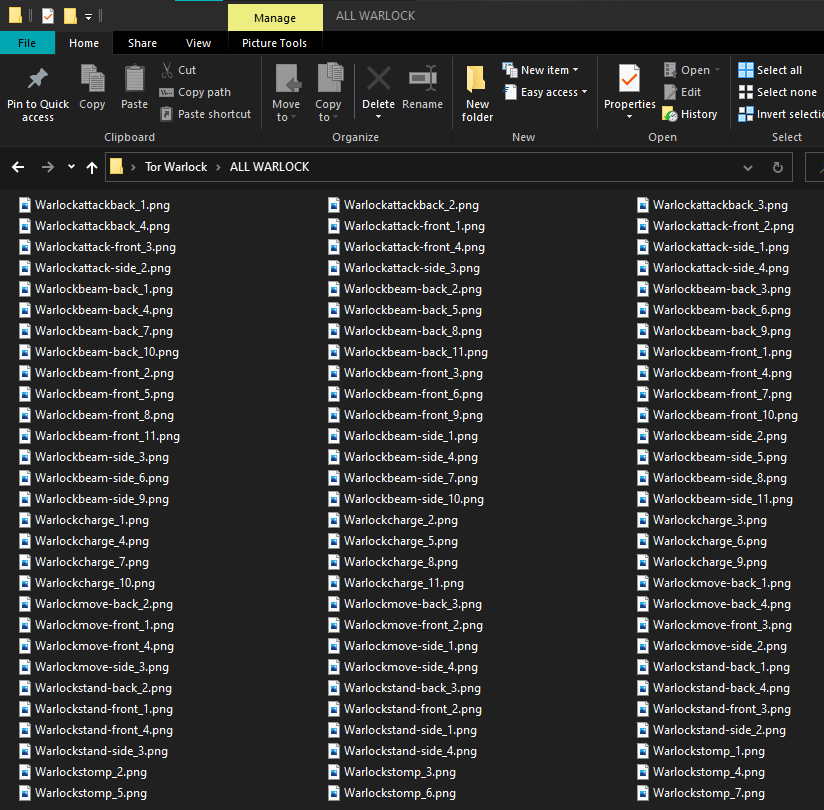
for _, filename in pairs(app.fs.listFiles(dir)) do
  local fullFilename = app.fs.joinPath(dir, filename)
  if app.fs.isFile(fullFilename) then
    local image = Image { fromFile = fullFilename }
    if image then
      local layer = activeSprite:newLayer()
      layer.name = app.fs.fileName(fullFilename)
      local cel = activeSprite:newCel(layer, activeFrame, image, Point(0, 0))
    end
  end
end
app.command.Refresh()
app.refresh()

The snippet above places each image per layer in a cel on the active sprite’s first frame. It makes no attempt to position them. You can see where Point(0, 0) in the newCel call gives an opportunity to do so. Depending on how many images you have in a directory, the script could lock up Aseprite for a while. If you do try it out, test it on a directory with few files first. You’d need to replace the dummy string "my\\dir\\path" with an actual path string.

To replace a color across multiple layers, you need to select a range in the timeline before hitting Shift+R. Due to a renderer bug, the preview will only show the color changed across the active layer, not all layers. You won’t see all layers changed until after you commit the replace.

Keeping each image in a separate cel means that it can be saved when finished using API calls I linked in the post above. The layer name is assigned the file name on load.

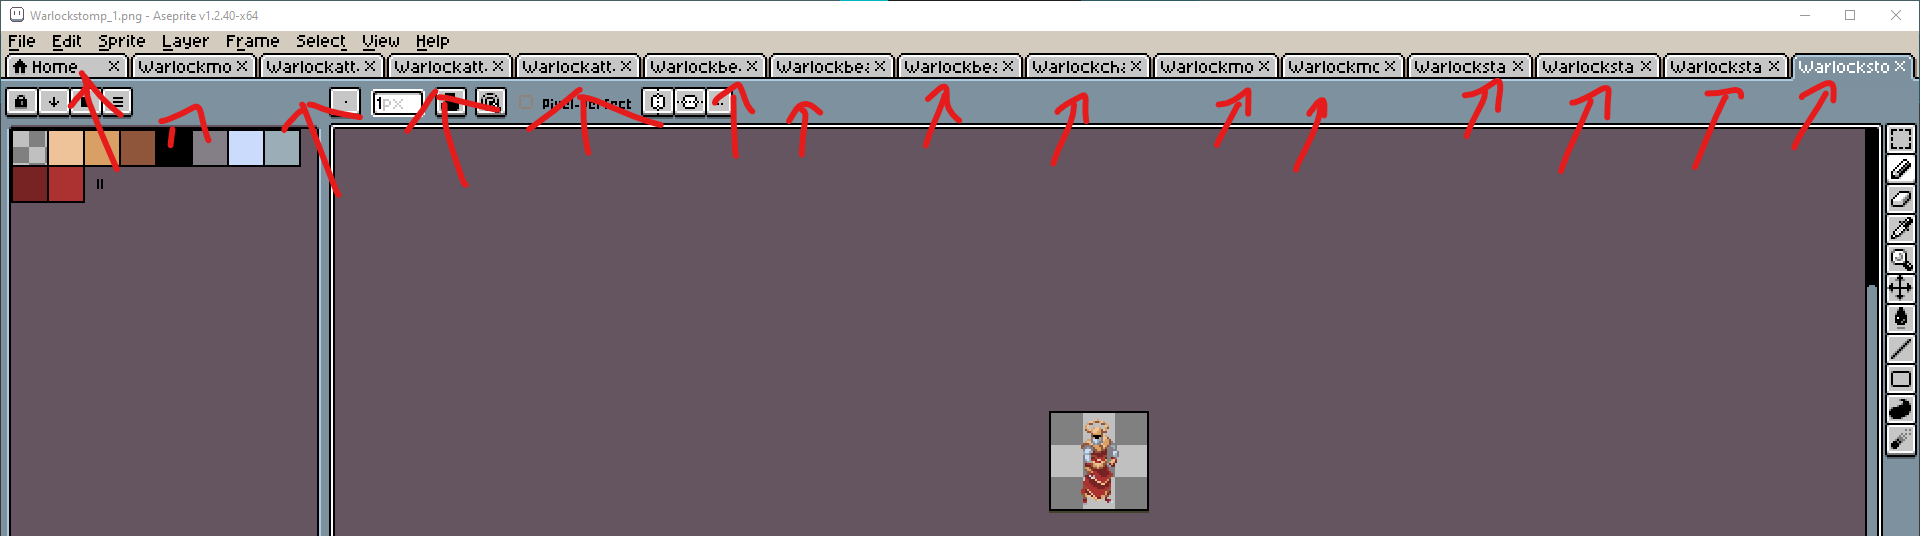
Tbh, I’d personally still go with the approach I outlined in the previous post. Below are some images and snippets showing how I’d prep for that.

Best,
Jeremy


Save a palette with all colors from all images to a .gpl file to ensure swatch order is maintained.

symbiosisPaletteImage

GIMP Palette
Name: Warlock
Columns: 0
Channels: RGBA
# Colors: 10
  0   0   0   0 0x00000000
238 195 154 255 0xff9ac3ee
217 160 102 255 0xff66a0d9
143  86  59 255 0xff3b568f
  0   0   0 255 0xff000000
132 126 135 255 0xff877e84
203 219 252 255 0xfffcdbcb
155 173 183 255 0xffb7ad9b
120  35  35 255 0xff232378
172  50  50 255 0xff3232ac

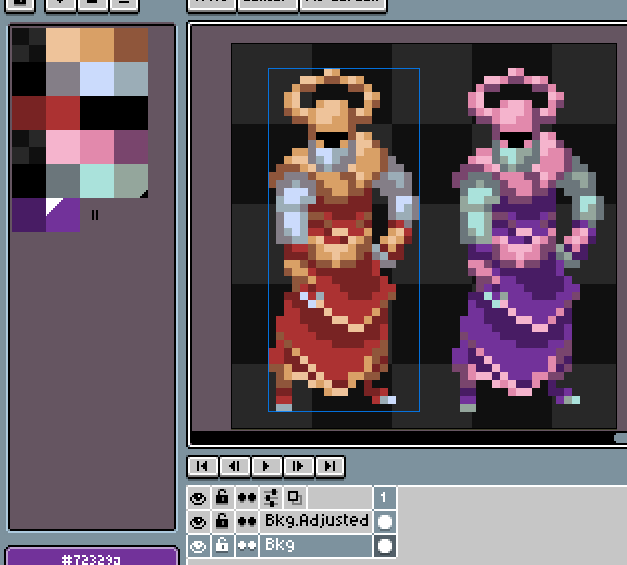
Make adjustments to some or all colors in a draft file.

Remove the colors from the original palette, ensure new and old palettes are the same size. Save the new palette.

corruptedPaletteImage

Load the two palettes, create a correspondence dictionary, load all images in the directory, clone each source image, replace color per pixel in target image (assuming RGB color mode), save target image (for Indexed color mode images, save with the target palette).

2 Likes

I will give this all a try, looks good to me.

Your time and effort is truly appreciated.
Thanks so much Jeremy!